Continuing with my Island Practical series about home construction in Aruba, we’re now to the point where the “ring beam” is poured. The Aruban Department of Works has a standard for the dimensions of the beam and the reinforcing steel to be used in it. Again, make sure your plans comply with these regulations. Here’s a photo that shows the ring beam poured as well as some steel hanging out from one side.
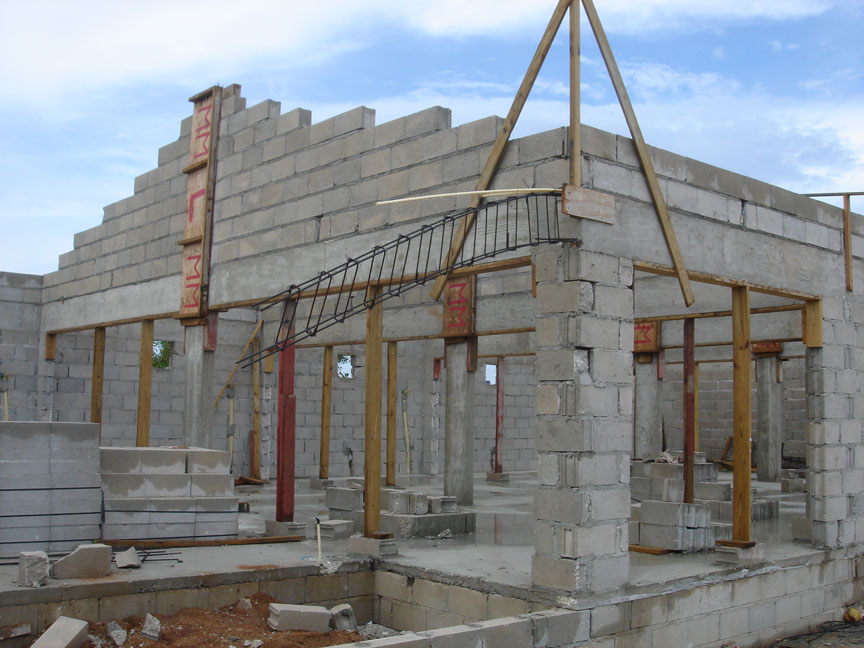
It’s not a good idea to leave the steel hanging like that. Better to brace it and keep it in shape. You can see the various vertical braces holding up the poured sections throughout this structure. The ring beam serves to tie the walls and columns together into a single unit that is stronger than if they were separate. There is very little seismic activity (earthquakes) in Aruba, but every once in a while things get a little shake. The ring beam, hopefully, will keep things from tumbling. Here’s another look.
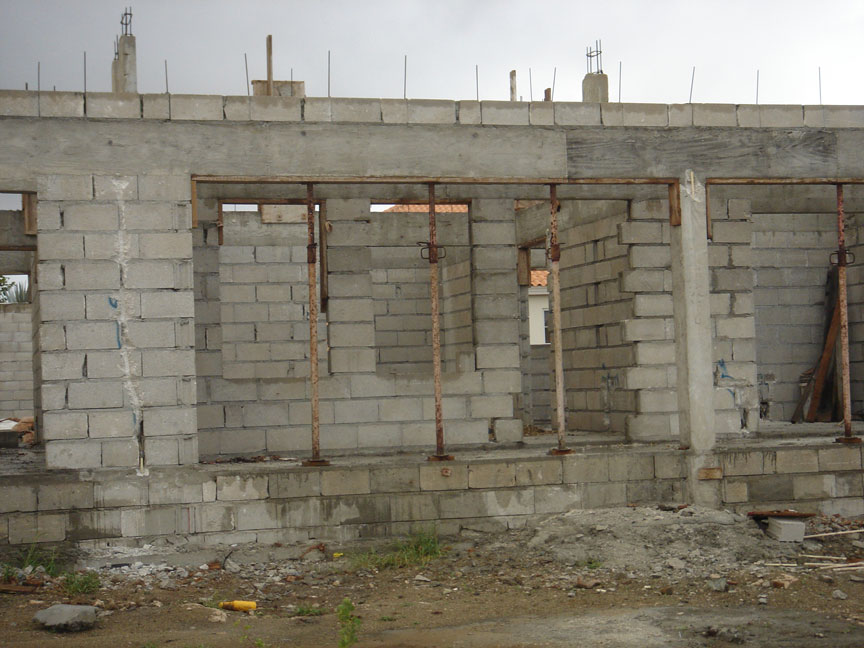
This time, metal jack stands have been used. I like those things, they’re strong, easily adjusted, and can be reused almost for forever. In this photo, you’ll also note the rebar sticking up from the beam. The roof joists can be tied down to the ring beam which reduces the lifting action of the wind as it swirls around the eaves. In a storm, this is a critical function. If not, your roof lifts off and you’re on your way to the Yellow Brick Road. Not good.
Next we’ll take a look at the roof itself.

You must be logged in to post a comment.