Roof Tiles and Styles

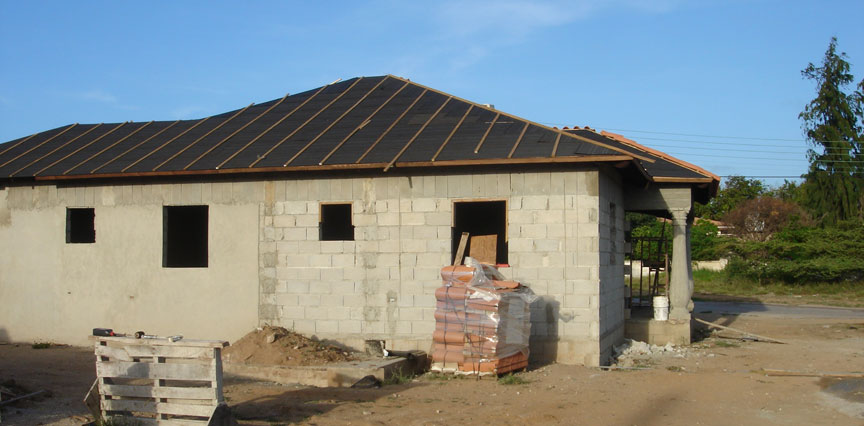
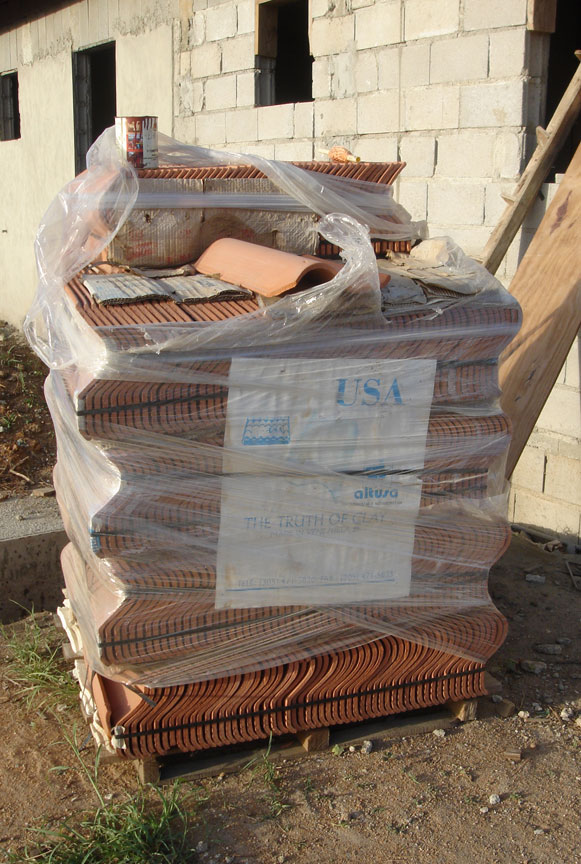
At last we’re ready to put the roof on a house in Aruba. You have your choice of tiles here. Some are the standard, uniform Spanish clay tiles. Others are the glazed blue “Dutch tiles.” Lately they’ve been importing ones that look rustic. Whatever your choice, tiles are a great way to keep the weather out. Here’s a look at a house that’s going to get those blue tiles.

The above photo is a little difficult to work with. It’s the house in the back of the photo where you see the blue tile on the upper roof and lower roof is ready for installation. The roof in the foreground is sheet metal, which can be a good, economical alternative for this climate. Nothing beats the look and durability of those glazed tiles, however. At least in my humble opinion. The next photo shows some of those rustic tiles, here used on a front wall and entrance gate.


And then there are the flat tiles used below to cover awnings on the side of a house as shown below. This dresses the house up and gives it a classy, totally finished look.

So we’ve gone from the foundation to the roof. Next weekend, I’ll post about some of the internal issues, like water sytems, electrical, and so forth. In the mean time, we’ll stop into some restaurants, a few hotels, and maybe a run to the beach or something. Thanks for stopping by.

Food From The Window

Since we’ve been working hard getting this house built (figuratively, not literally), it’s time for a snack. Just up the road from my place in Savaneta, Aruba, is a little place with no tables, no chairs, just a window in the side of a house. However, through this window passes some great locale fare. Here’s a look at the joint.

You’ll recognize the cunucu house shape from my earlier photo essays. Anyway, the guy is ordering a sandwich which is made of homemade bread baked on the premises, plus a variety of fillings from a curry-style chicken to fish to all sorts of things that I can’t pronounce. You give your order to the lady inside and she makes up your sandwich and off you go. They also make homemade donuts here as pictured below. This is not your typical dunker; this thing is massive and dense.

(I don’t know the name of this place, nor the name of the people inside, but I’ll find out one day when I slow down enough to ask instead of just grabbing a bite and hustling off.) At any rate, it’s only open in the late afternoon, early evening, probably as the bread comes out of the oven. Locals stop here, parking two and three deep sometimes along the road. They get a fix of their favorite things the way people in the US might run out for a cheeseburger.

Now that we’ve fueled up, it’s time to get back to work. The next post will show some different tiles on the roof. Don’t forget your hammer and ladder.

Published in: on July 20, 2008 at 11:59 am  Comments (2)  
Tags: , , , , , , , , ,

Ready for the Roof

Now that the foundation and walls have gone up, we’re ready to frame out the roof. Since you don’t have to worry about the snow load in Aruba, the framing is a bit lighter. My own house is framed lighter than I prefer, but it’s been on the house for over 20 years without a problem (wood knocking sounds) so I’m going to leave well enough alone. Just the same, these photos will go on to show clay tile roofs that are built to newer, and better, standards. Here’s a house with the cross members in place.

That V shape looks like the man is ready to put a dormer in there or something which would add some character to the house. Either way, this is a good start. Some roofs are built with internal trusses that allow for a cathedral ceiling inside, such as this one.

Do some finish work on that and stain it nice and you’d have a great feature on the inside. On the outside, the cross members are covered with plywood, then tar paper, and then the slats that accept the tiles, as shown in the next photo.

The roof is all ready to go. Here’s a closer look at those tiles.

 I’m a big proponent of clay tiles as a roofing material. They’re durable, reflect the heat, low maintenance, and look great. Some houses in Aruba have switched to asphalt shingles. I don’t think this is a wise move. The sun here is brutal and those shingles may be cheaper but there’s no way they’re going to stand up to sun. You’ll be replacing them or dealing with leaks.

In the next post, I’ll show a couple of roofs with different styles of tiles just for fun.

Published in: on July 19, 2008 at 11:26 pm  Comments (1)  
Tags: , , , , , , ,

The Ring Beam

Continuing with my Island Practical series about home construction in Aruba, we’re now to the point where the “ring beam” is poured. The Aruban Department of Works has a standard for the dimensions of the beam and the reinforcing steel to be used in it. Again, make sure your plans comply with these regulations. Here’s a photo that shows the ring beam poured as well as some steel hanging out from one side.

It’s not a good idea to leave the steel hanging like that. Better to brace it and keep it in shape. You can see the various vertical braces holding up the poured sections throughout this structure. The ring beam serves to tie the walls and columns together into a single unit that is stronger than if they were separate. There is very little seismic activity (earthquakes) in Aruba, but every once in a while things get a little shake. The ring beam, hopefully, will keep things from tumbling. Here’s another look.

This time, metal jack stands have been used. I like those things, they’re strong, easily adjusted, and can be reused almost for forever. In this photo, you’ll also note the rebar sticking up from the beam. The roof joists can be tied down to the ring beam which reduces the lifting action of the wind as it swirls around the eaves. In a storm, this is a critical function. If not, your roof lifts off and you’re on your way to the Yellow Brick Road. Not good.

Next we’ll take a look at the roof itself.

Published in: on July 19, 2008 at 6:52 pm  Leave a Comment  
Tags: , , , , , , ,